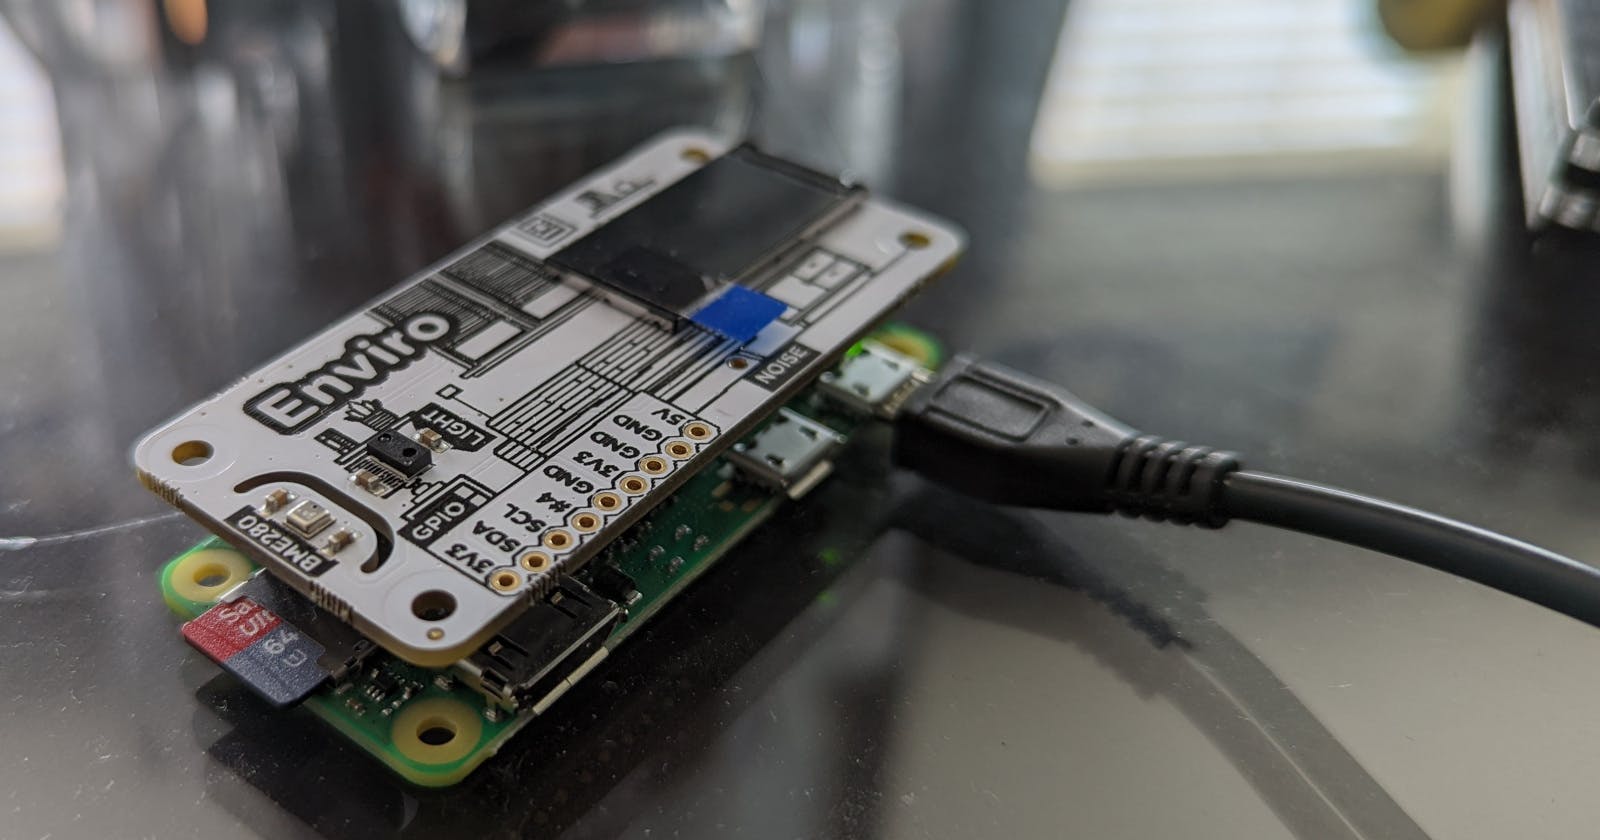


Spring Native allows me to deploy Spring Boot applications on $15 Raspberry Pi Zero 2 W devices. This document describes how I create the base OS image used to deploy these applications. I use the Spring Boot Maven plugin to create ARM64-native OCI images. At the end of the process documented here, I have a device able to run those OCI images. I then deploy these devices indoors and outdoors, and within range of the configured WIFI.
Raspberry Pi Zero 2W
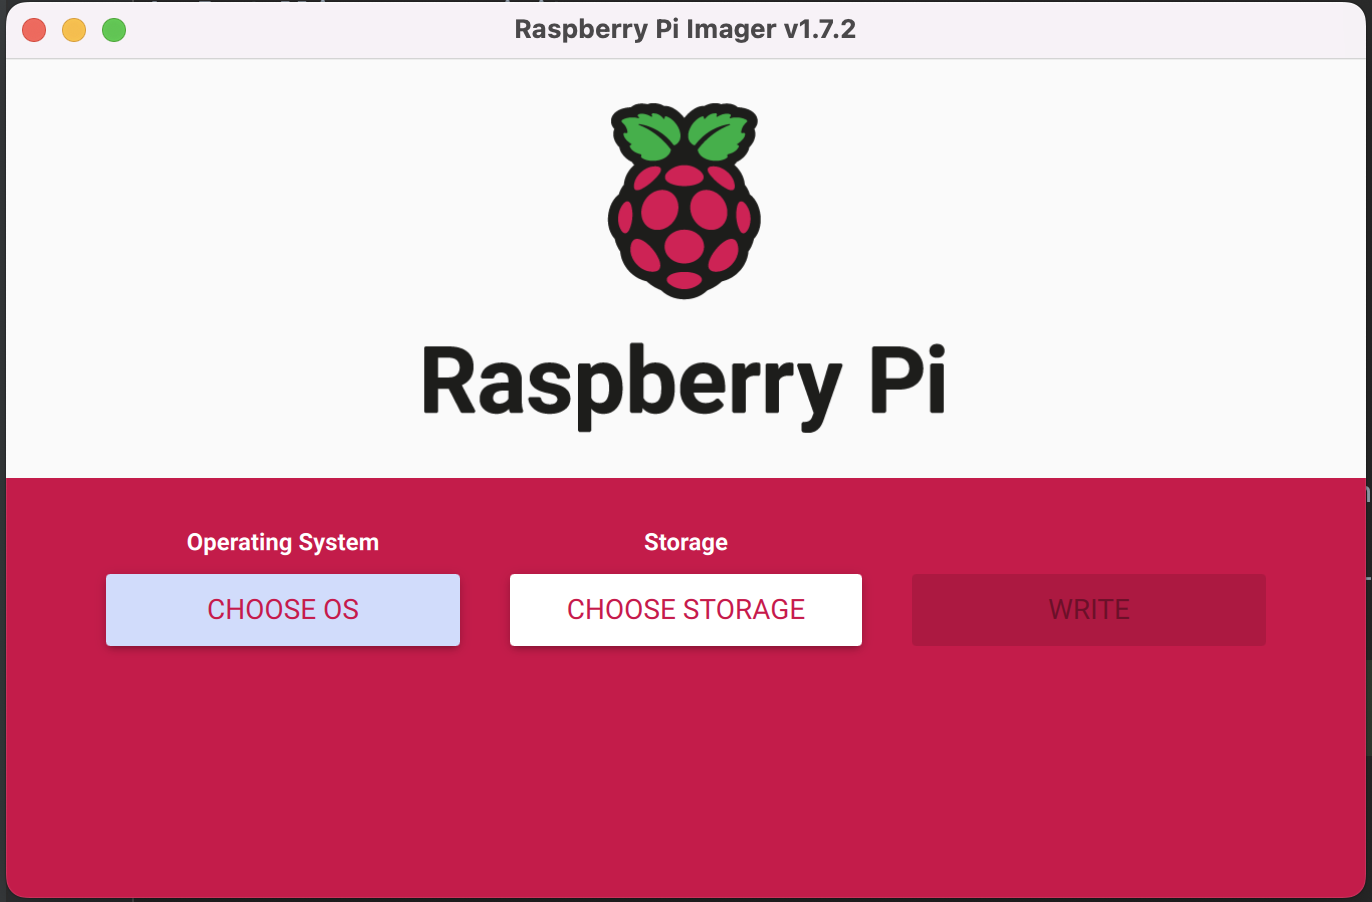
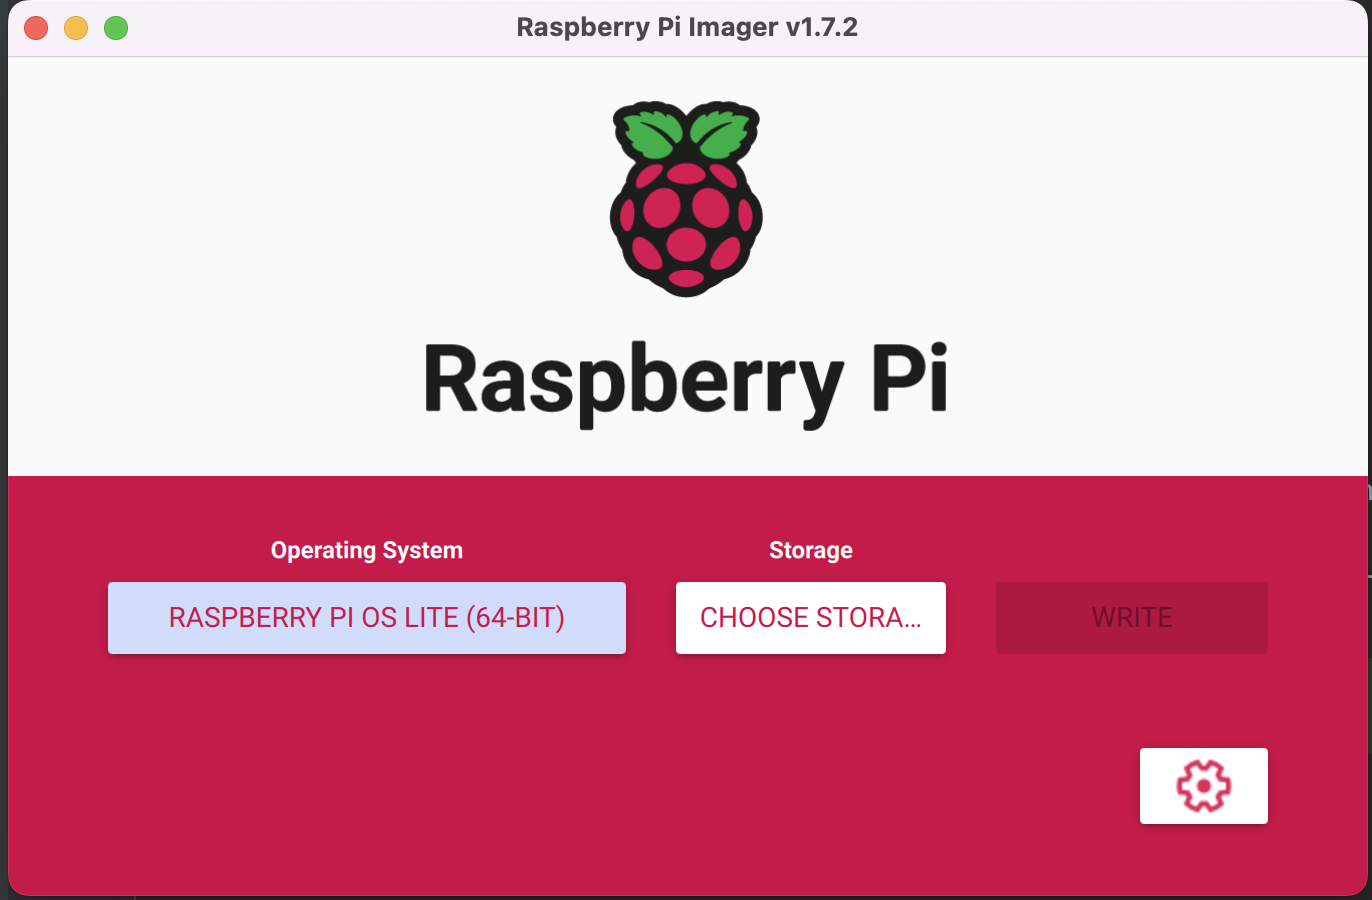
Install Raspberry Pi OS Bullseye onto a SD card using the Raspberry Pi Imager (rpi-imager).
I have used the rpi-imager tool on my Ubuntu desktop, my Mac laptop, as well as my Raspberry Pi 4 desktop.
For this document, I'm using rpi-imager installed on my Mac, which has an SD drive attached.
I'm using version v1.7.2 in this example.
Under "Operating System" click the "CHOOSE OS" button.
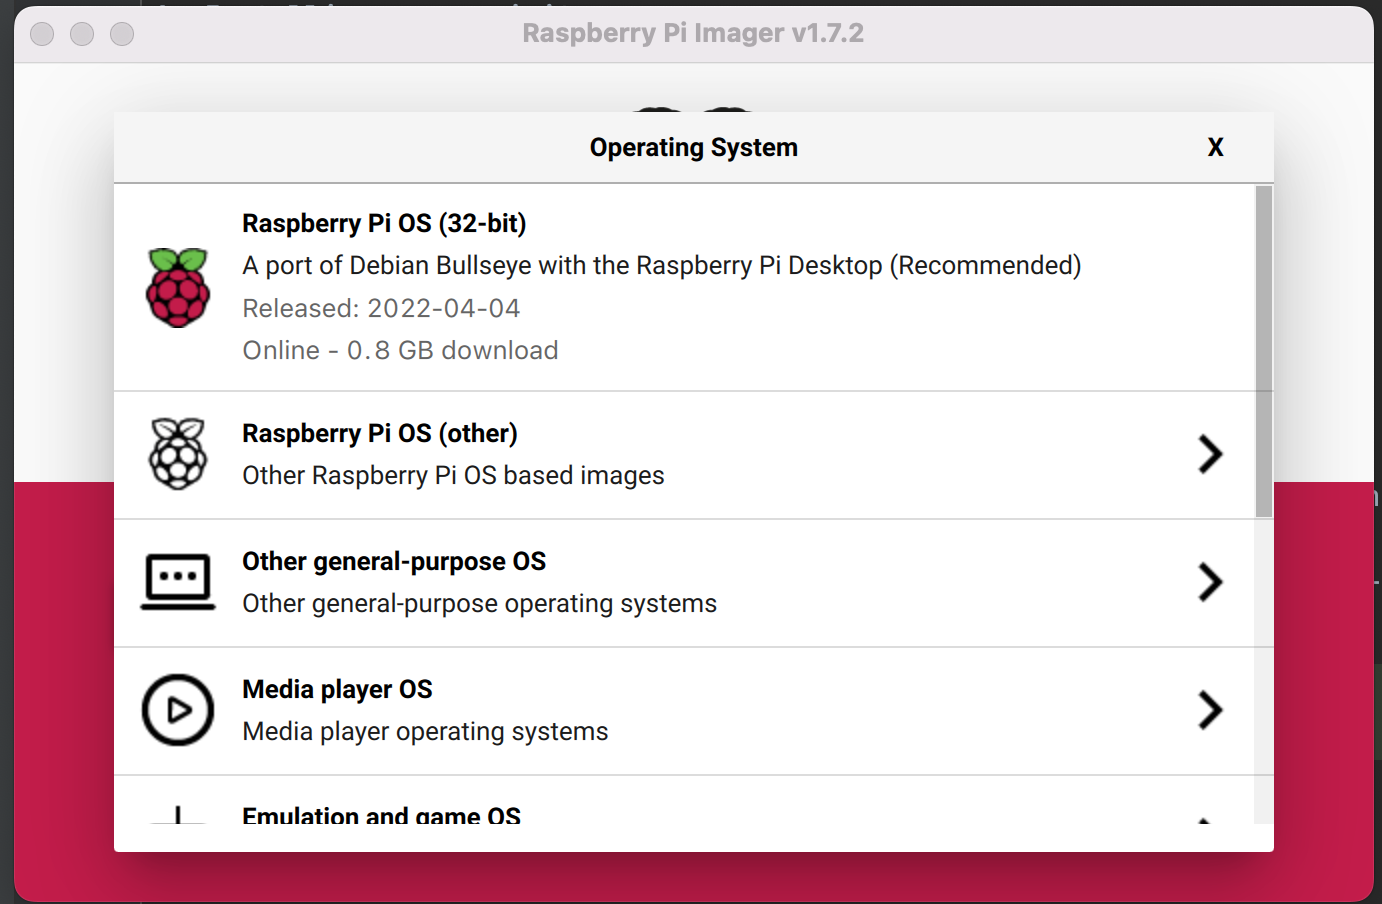
Click "Raspberry Pi OS (other)" from the list.
Select "Raspberry Pi OS Lite (64-bit)" from the list.
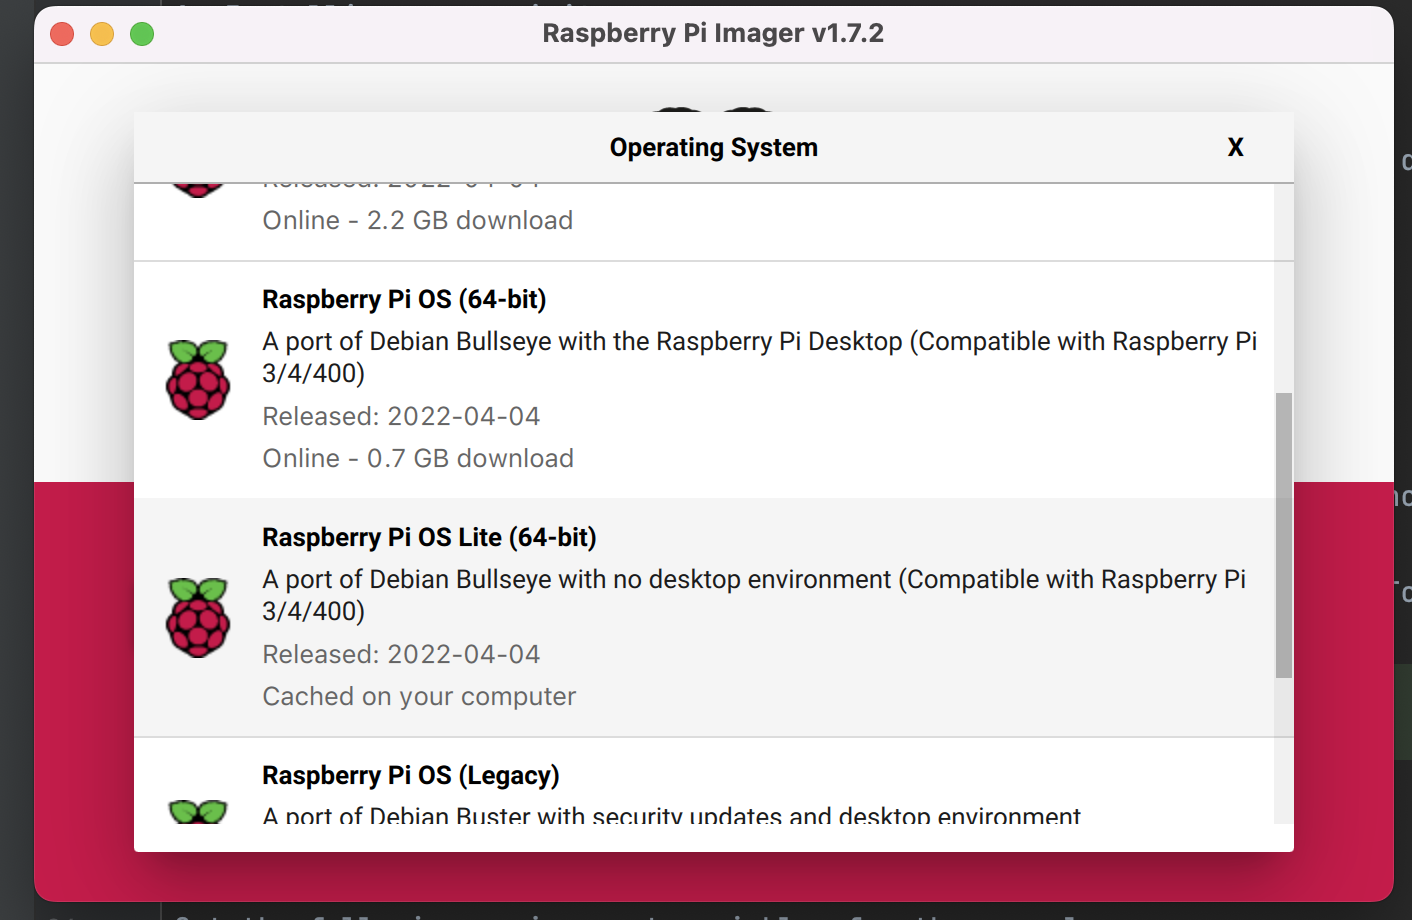
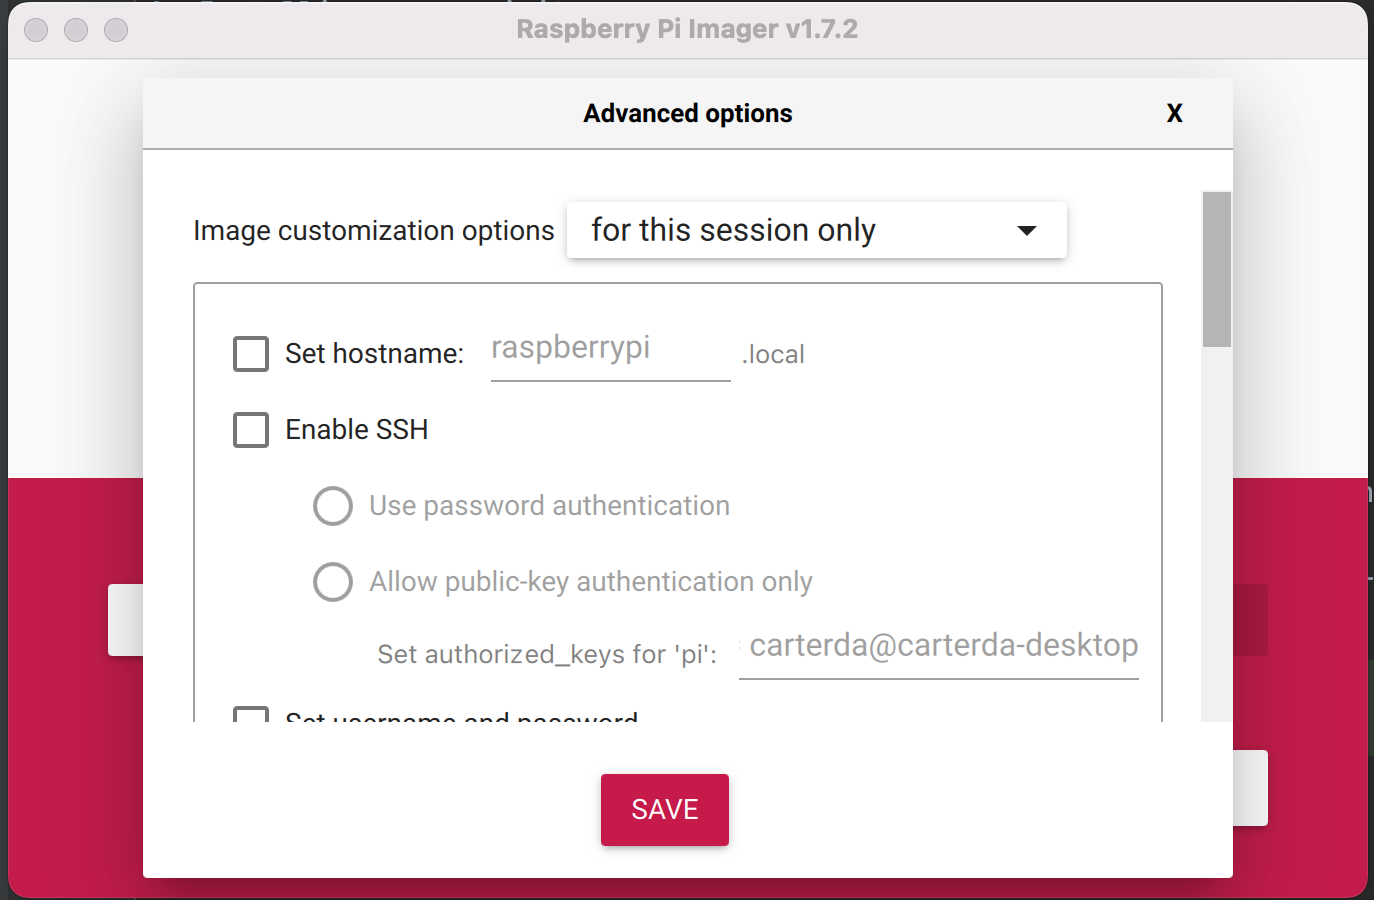
A new 'gear' button will appear for advanced options settings.
Use the advanced options to configure the image before writing it to the SD card.
- Set the hostname (hostname.local)
- Configure WIFI
- Network
- Password
- Region
- Set a username and password (username)
- Enable SSH
- Configure timezone
After configuring the advanced options:
- Under "Storage" click "CHOOSE STORAGE"
- From the "Storage" list, select the SD card to write to.
- Click the "WRITE" button to burn the image, and the advanced configurations to the SSD card.
After the image write has completed, eject the SD card. Put the SD card into the Raspberry Pi Zero 2 W. Power up the device. The device will connect to the configured WIFI network.
This imager tool and these advanced settings have saved me so much time with this type of deployment.
First Boot
Connect to the device via SSH:
ssh username@hostname.local

username@hostname:~ $
Update the repositories with the latest available version info:
sudo apt update
Upgrade to the latest version of anything that is available:
sudo apt full-upgrade -y
Updating the firmware is not required for a standalone deployment. I do this for consistency with my other deployment types.
Upgrade the firmware:
sudo rpi-update
Following a warning you will be prompted to proceed (y/N).
This process takes minutes, not seconds, on my Raspberry Pi Zero 2 W devices
Add the Container Runtime
I cringe every time I see a curl pipe to shell. I hope you do the same. Please review scripts before piping anything to shell!
Install Docker:
curl -sSL https://get.docker.com | sh
Run Docker as a non-privileged user with Docker daemon in rootless mode.
username@hostname:~ $ dockerd-rootless-setuptool.sh install
[ERROR] Missing system requirements. Run the following commands to
[ERROR] install the requirements and run this tool again.

########## BEGIN ##########
sudo sh -eux <<EOF
# Install newuidmap & newgidmap binaries
apt-get install -y uidmap
EOF
########## END ##########
Install the missing requirements and try again:
sudo sh -eux <<EOF
# Install newuidmap & newgidmap binaries
apt-get install -y uidmap
EOF
dockerd-rootless-setuptool.sh install
The output from 'dockerd-rootless-setuptool.sh' provides configuration info:
[INFO] Installed docker.service successfully.
[INFO] To control docker.service, run: `systemctl --user (start|stop|restart) docker.service`
[INFO] To run docker.service on system startup, run: `sudo loginctl enable-linger username`

[INFO] Creating CLI context "rootless"
Successfully created context "rootless"

[INFO] Make sure the following environment variables are set (or add them to ~/.bashrc):

export PATH=/usr/bin:$PATH
export DOCKER_HOST=unix:///run/user/1000/docker.sock
Direnv for configuration
This section is not required if you follow the steps above. I have adopted 'direnv' for configuring environments.
# Install 'direnv'
sudo apt install direnv -y
# Setup the shell hook
cat <<'EOT' >> ~/.bashrc
eval "$(direnv hook bash)"
EOT
# Enable the shell hook
source ~/.bashrc
Add environment variables to .envrc file:
cat <<'EOT' >> ~/.envrc
export PATH=/usr/bin:$PATH
export DOCKER_HOST=unix:///run/user/1000/docker.sock
EOT
# Enable the new environment
direnv allow
Verify Configuration
Configure Docker to run on system startup and reboot:
sudo loginctl enable-linger username
sudo shutdown -r now
Now 'username' can run Docker commands as a non-privileged user.
Verify:
docker info
Deploy Spring Boot Native for ARM64 image
Run a Spring Boot application delivered as an ARM64 native OCI image:
docker run --name spring-native-pi --rm -d -p 8080:8080 dashaun/spring-pi-native:focal-arm64
Verify the deployment from another computer:
curl -fsSL hostname.local:8080/actuator | jq .
{
  "_links": {
    "self": {
      "href": "http://hostname.local:8080/actuator",
      "templated": false
    },
    "health-path": {
      "href": "http://hostname.local:8080/actuator/health/{*path}",
      "templated": true
    },
    "health": {
      "href": "http://hostname.local:8080/actuator/health",
      "templated": false
    }
  }
}
Summary
This is how I deploy standalone WIFI connected devices. This process could be simplified. I use this process as documented, to help me understand each step. With this process I am able to have a consistent method for deployment and maintenance. This allows me to deploy Spring Boot applications to the edge. With Spring Native it is easy and fun to enjoy Spring on Raspberry Pi.
I will share a Pimoroni Enviro+ project using Spring Boot and Spring Native, soon.