
Raspberry Pi Zero W Camera Server
Quick to build, cool, remote control camera on Raspberry Pi Zero W


This is an overview of a recent project.
A friend needed:
- a camera
- that could be mounted in a conference booth
- remote controlled
somehow - automatically display each snapshot on an attached big screen
After lots of missteps, the solution I landed on is so easy to do.
There is no programming involved. Definitely easy enough for beginners.
Hardware Used
- Raspberry Pi Zero W / Raspberry Pi Zero 2 W
- Raspberry Pi Camera Module v2
- Raspberry Pi Camera Module Cable
- Raspberry Pi Zero Case
- Raspberry Pi Power Adapter
- SDCard (micro sd)
- Raspberry Pi HDMI adapter
- HDMI capable monitor
Raspberry Pi OS
Install Raspberry Pi OS Lite (32-bit) Bullseye onto a SD card
using the Raspberry Pi Imager (rpi-imager).
This will not work with 64-bit version of Raspberry Pi OS / Bullseye
Use the advanced options gear to set the following before writing:
- hostname
- enable ssh
- ssh-key
- wifi settings
- Leave user as 'pi' but provide a password
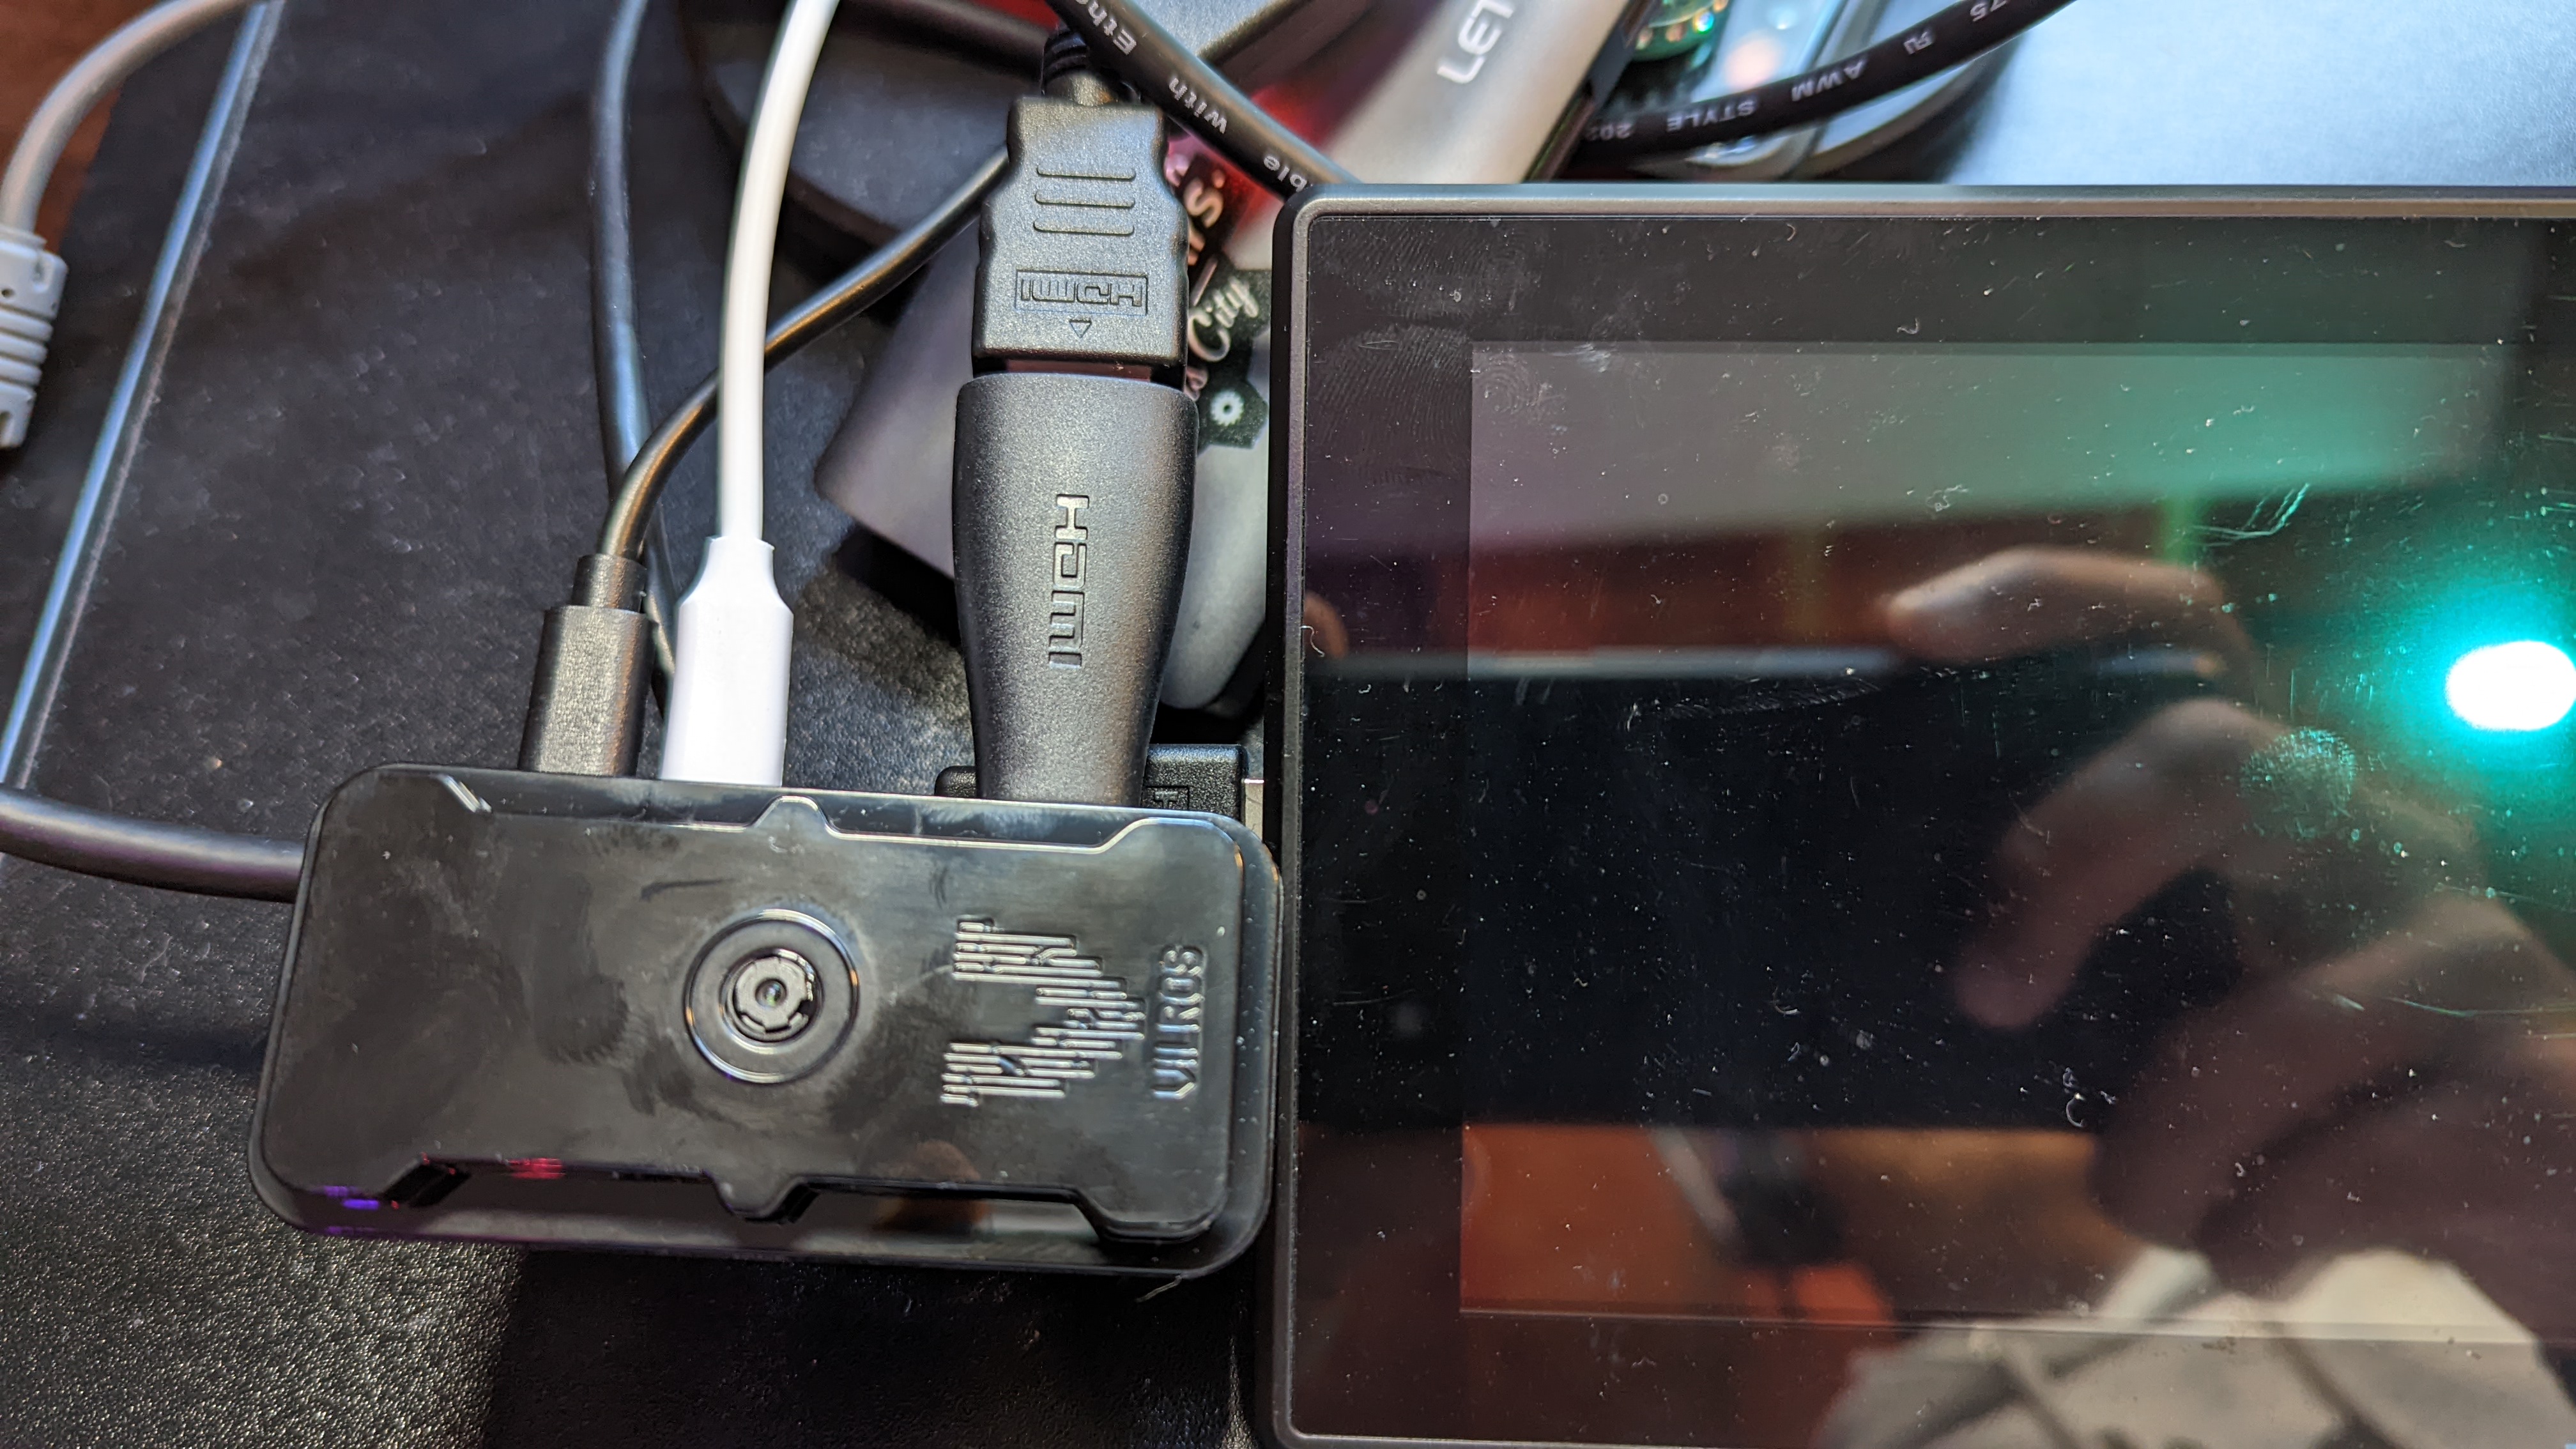
Hardware
Plug everything together while your image is burning.
Rpi Cam Web Interface
Follow the instructions to install Rpi Cam Web Interface
My options for the install:
cam subfolder: ""
autostart: yes
Server: nginx
port: 80
The config options I'm using with my Raspberry Pi Camera Module v2:
image_width 3280
image_height 2464
image_quality 90

width 1080
/etc/raspimjpeg
Hotspot
Follow the instructions to install Hotspot
The hotspot configuration uses firewalld so I needed to make one more change.
In order to access the web cam service, I needed to open port 80.
pi@localhost:~ $ sudo firewall-cmd --zone=public --list-services
dhcpv6-client ssh
pi@localhost:~ $ sudo firewall-cmd --zone=public --add-service=http --permanent
success
pi@localhost:~ $ sudo firewall-cmd --zone=public --list-services
dhcpv6-client http ssh
Add http (port 80) permanently to the firewall list of services to allow
Output to Big Screen
I installed fbi the framebuffer interface.
Then I used this program, to grab the latest snapshot, and push it to the connected display.
#!/bin/bash
export FRAMEBUFFER=/dev/fb0
export DISPLAY=:0

#Loop as long as the directory exists
while [ -d /var/www/media ]
do
    #list the files in the directory sort by timestamp and grab the newest 1
    JPG=$(ls -atr /var/www/media/*.jpg | tail -n1)
    #Push the newest image to the framebuffer with autozoom
    sudo fbi -a --noverbose -T 1 $JPG &
    #Let that image show for 60 seconds
    sleep 60
    #Kill the framebuffer program and run another loop
    sudo killall -9 fbi
done
Start the script by calling it from ~/.bashrc and using raspi-config to autologin with the 'pi' user
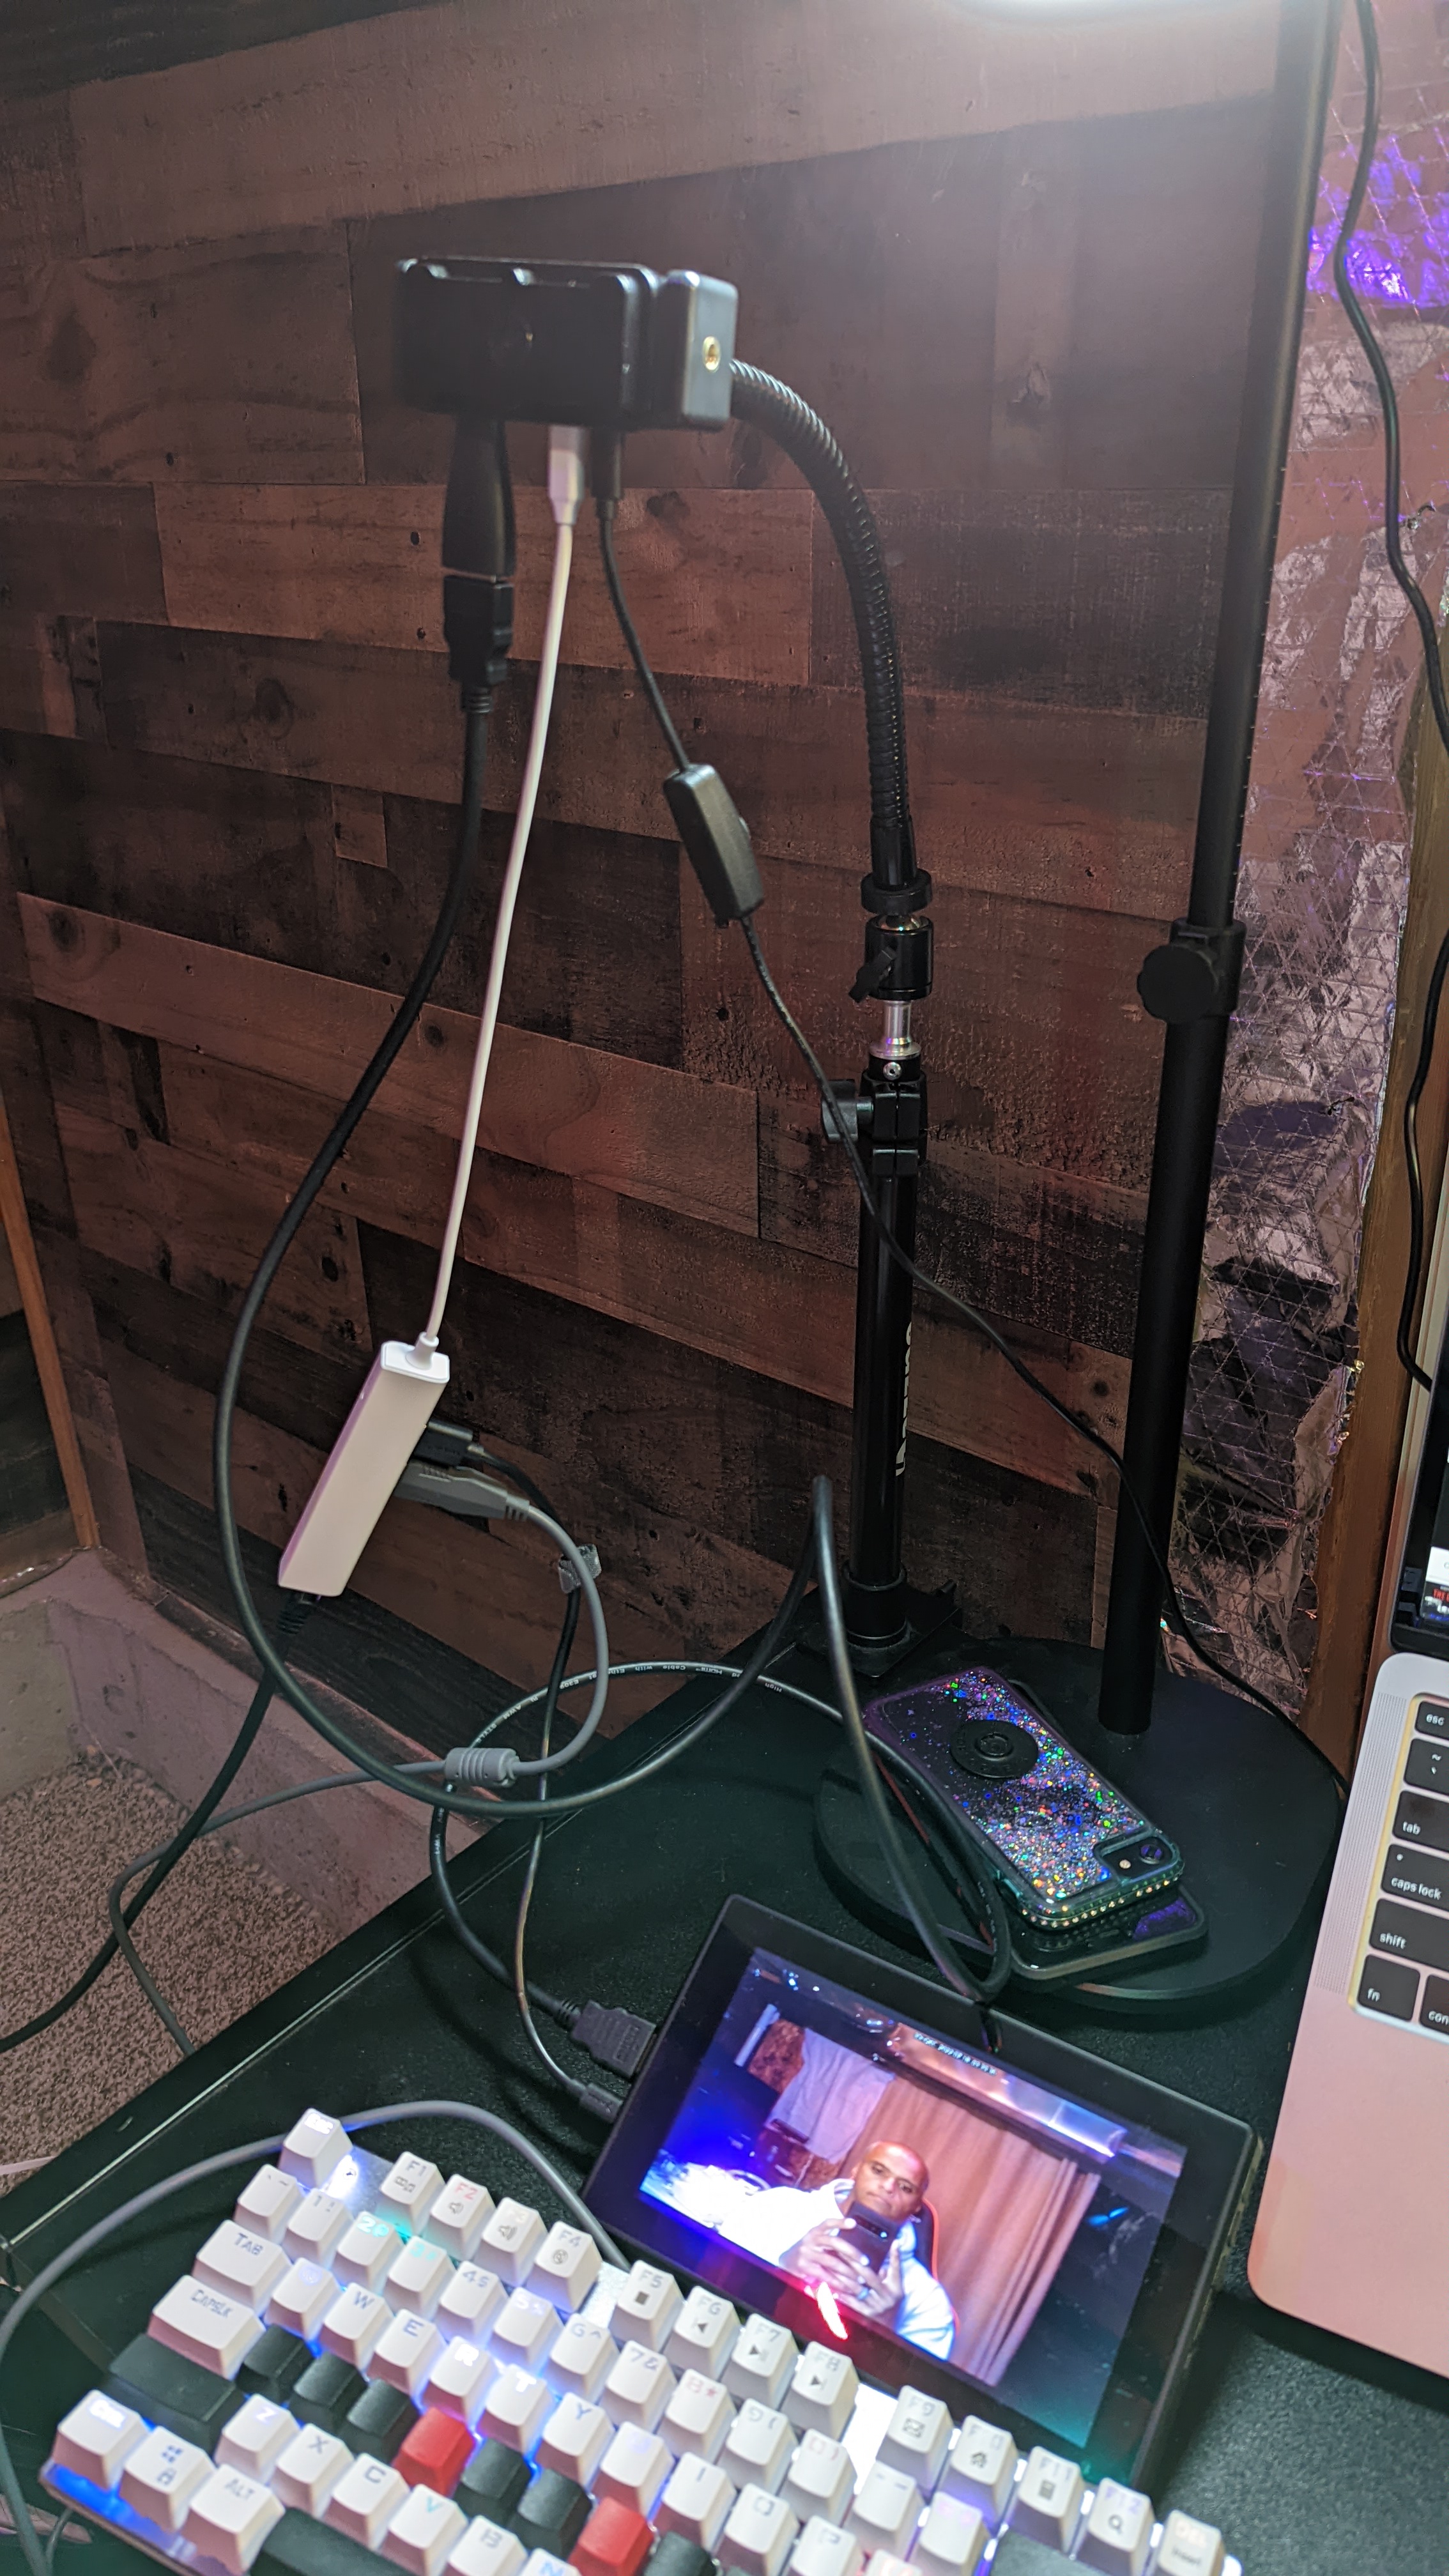
Testing Complete
- Remote Control Web Cam
- Private Hotspot Wi-fi
- Connect via smartphone
- Adjust camera settings
- Take picture
- Picture pushed to display via
fbi
Summary
This project was built for a specific purpose, as part of conference booth. I was told there would be no internet or WI-FI available, but they wanted to be able to control it remotely.
Working through this introduced me to several easy to install applications for the Raspberry Pi.
There is way more we could do with this same hardware and "photobooth" objective, but this is a great start, easy to do.
Immediately after completing this project, I used Rpi Cam Web Interface
and deployed a Zero 2 W and Zero View device to my office window.
It is using the motion enabled image capture feature to take pictures of our dog and the animals in the backyard.